The short version
Take the doors off, degrease every surface, sand to a dull finish, use a primer chosen for what the doors are made of, then brush or roll two thin coats of cupboard paint with the full recoat time between them. Leave the doors flat or on a rack for at least a day before rehanging, and go gently for two weeks while the paint cures.
What you need, and what it costs
Typical 2026 UK retail prices including VAT, for a kitchen of about 15 to 20 doors and drawer fronts. Trade counters are often cheaper. A complete makeover with new handles adds about £3 to £20 per handle.
| Item | For 15 to 20 fronts | Typical cost |
|---|---|---|
| Waterborne cupboard or trim paint, satin or eggshell | 2.5 to 4 litres | £60 to £160 |
| Primer to suit the surface | 1 to 2.5 litres | £25 to £70 |
| Degreaser or sugar soap | 1 bottle or tub | £5 to £15 |
| Abrasives, 120 to 320 grit | Mixed pack | £15 to £30 |
| Two-part filler and caulk | 1 each | £10 to £20 |
| Synthetic brush, mini rollers, spare sleeves | 1 brush, 4 to 6 sleeves | £15 to £35 |
| Tape, dust sheets, pyramids or a rack | As needed | £15 to £50 |
| Dust mask, P2 or P3 | 1 | £5 to £30 |
Get exact litres for your door sizes from the paint calculator, which also picks the cheapest mix of 2.5 litre and 750 ml tins.
Chapter 1
Check and plan
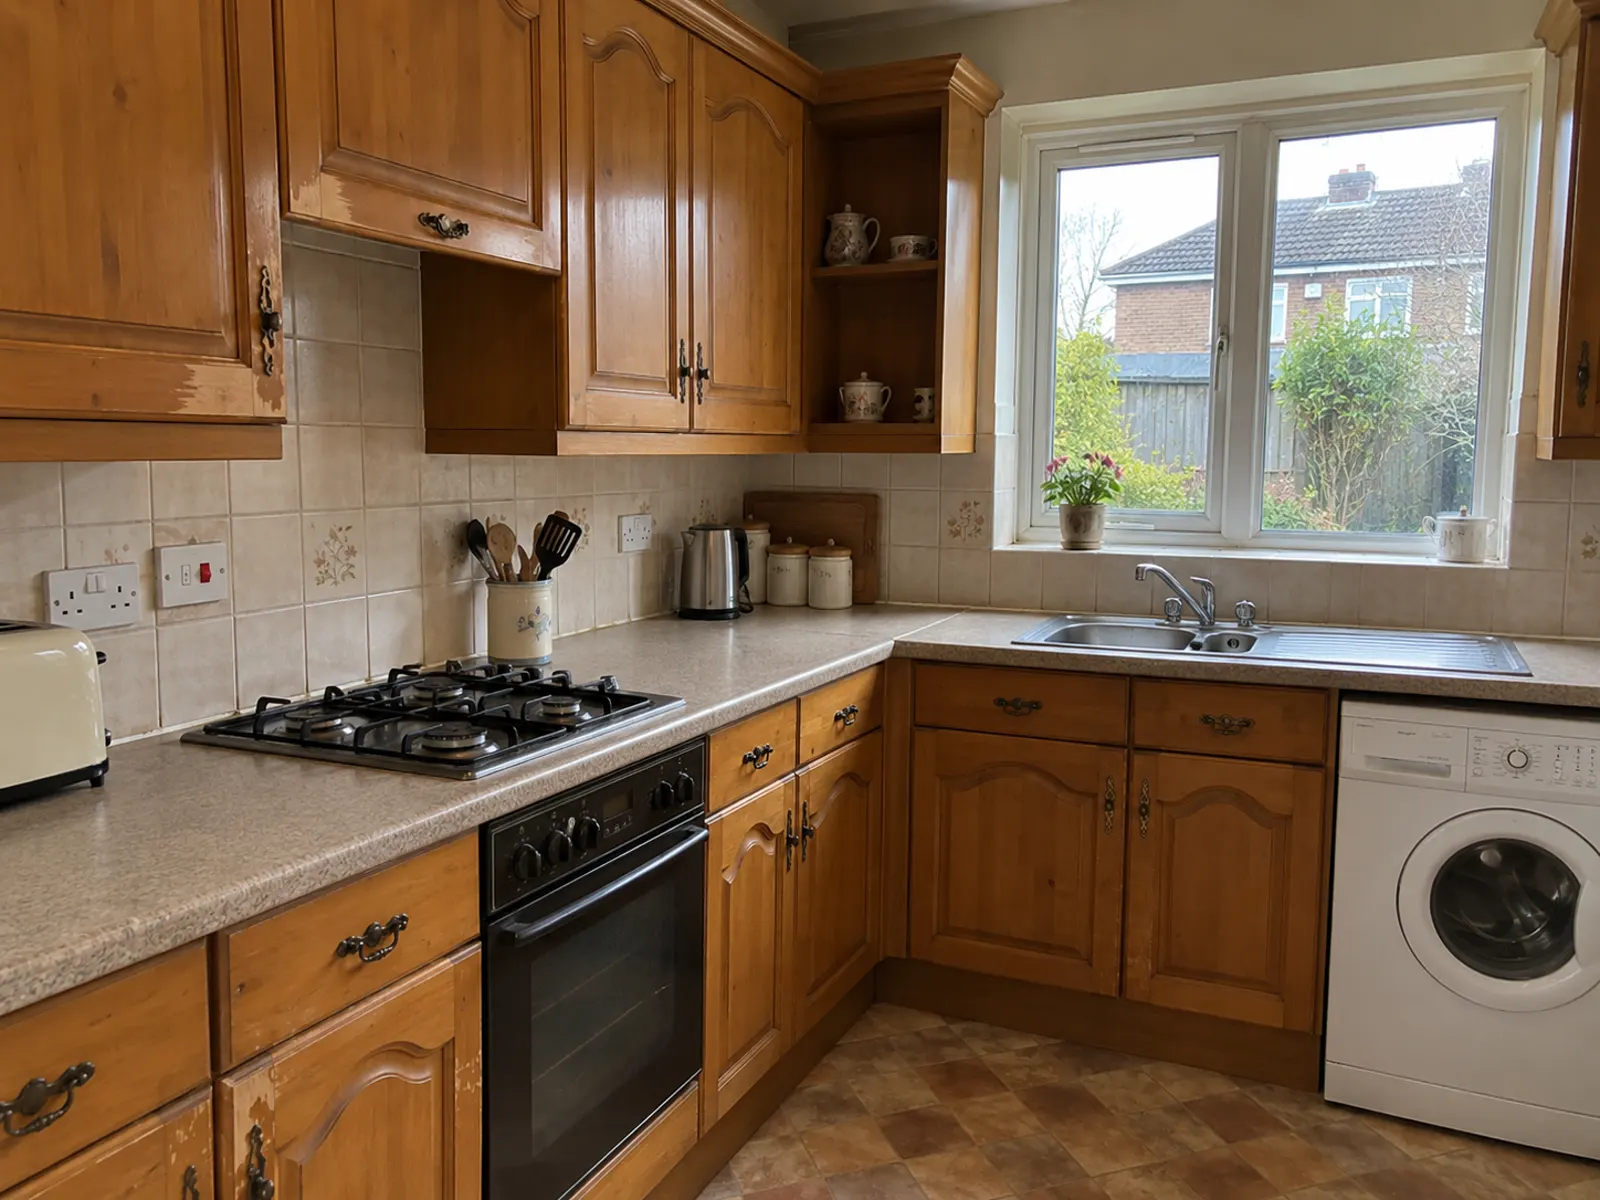
Sound boxes, tired colour: the kitchen painting suits best.
Step 1. Decide the scope
Doors and drawer fronts only, or the carcasses too? On most frameless UK kitchens the carcass edges are white or matching melamine and hardly show. On in-frame and shaker kitchens the face frame is the most visible part and has to be painted. End panels, plinths and cornice usually need doing if they are a different colour from the new scheme.
Painting the backs of doors adds about 40% more work but stops the old colour flashing every time a cupboard opens. A common compromise: paint the backs of wall units, which you look up into, and leave base unit backs alone.
Before you start, walk round and check three things. If the MDF beside the sink or dishwasher has swollen into a soft rounded edge, paint will not hide it. If vinyl wrap has bubbled near the oven or kettle, it must come off first. If the doors are already painted, press tape onto a cleaned door, rub it and pull sharply: paint on the tape means stripping back to a sound layer. If most doors fail two of these, price new doors in the respray or replace calculator before buying paint.
Step 2. Identify the surface
Run a fingernail along the back edge of a door. Vinyl-wrapped MDF has a thin plastic skin that wraps round the front edge and stops at the back with a small lip. Laminate or melamine is hard, cold and very flat with a separate edge strip. Painted MDF is smooth with a slightly soft feel at the edges. Timber shows grain at the ends of rails, and oak has open pores you can feel.
Each needs a different primer. In short: bonding primer for laminate, vinyl and gloss; stain-blocking primer for oak and knotty pine; MDF primer or sanding sealer for bare MDF. The paints and primers guide has the full table.
Chapter 2
Off and clean
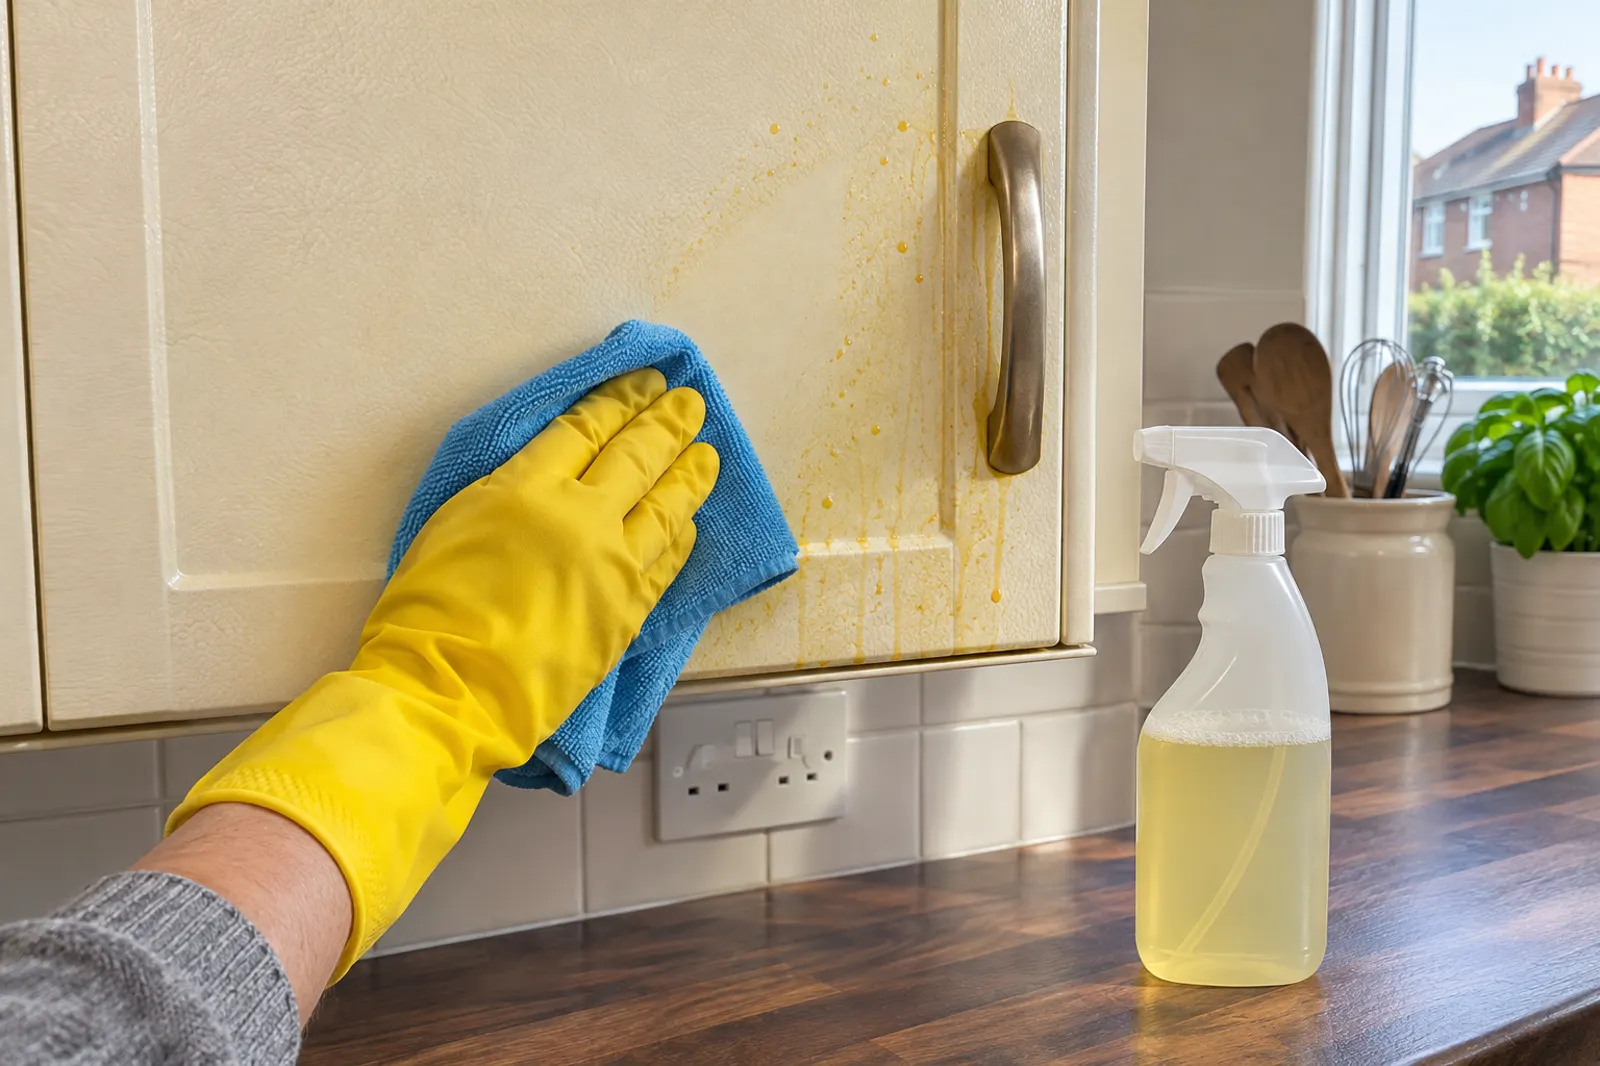
Grease is invisible until paint refuses to stick to it.
Step 3. Label and remove the doors
Stick a strip of masking tape inside each cabinet and number it. Write the same number on the door under the hinge cup, where the hinge will hide it. Unclip the hinges from the door, bag the hinge and screws, and tape the bag inside the cabinet. Keep handle screws separate, as doors and drawers often use different lengths. Most modern clip-on hinges release with a press on the back of the arm, leaving the mounting plate on the carcass.
Step 4. Degrease thoroughly
Wash both faces and every edge with a kitchen degreaser or sugar soap, working from the bottom up so drips do not streak. Spend most time on doors near the hob and around handles. Rinse with clean water and a fresh cloth, because detergent left behind also stops paint gripping. Let it dry for at least an hour, longer on timber.
Check: wipe a cleaned door with a dry white paper towel. A yellow tint means clean it again.
Chapter 3
Fill and sand
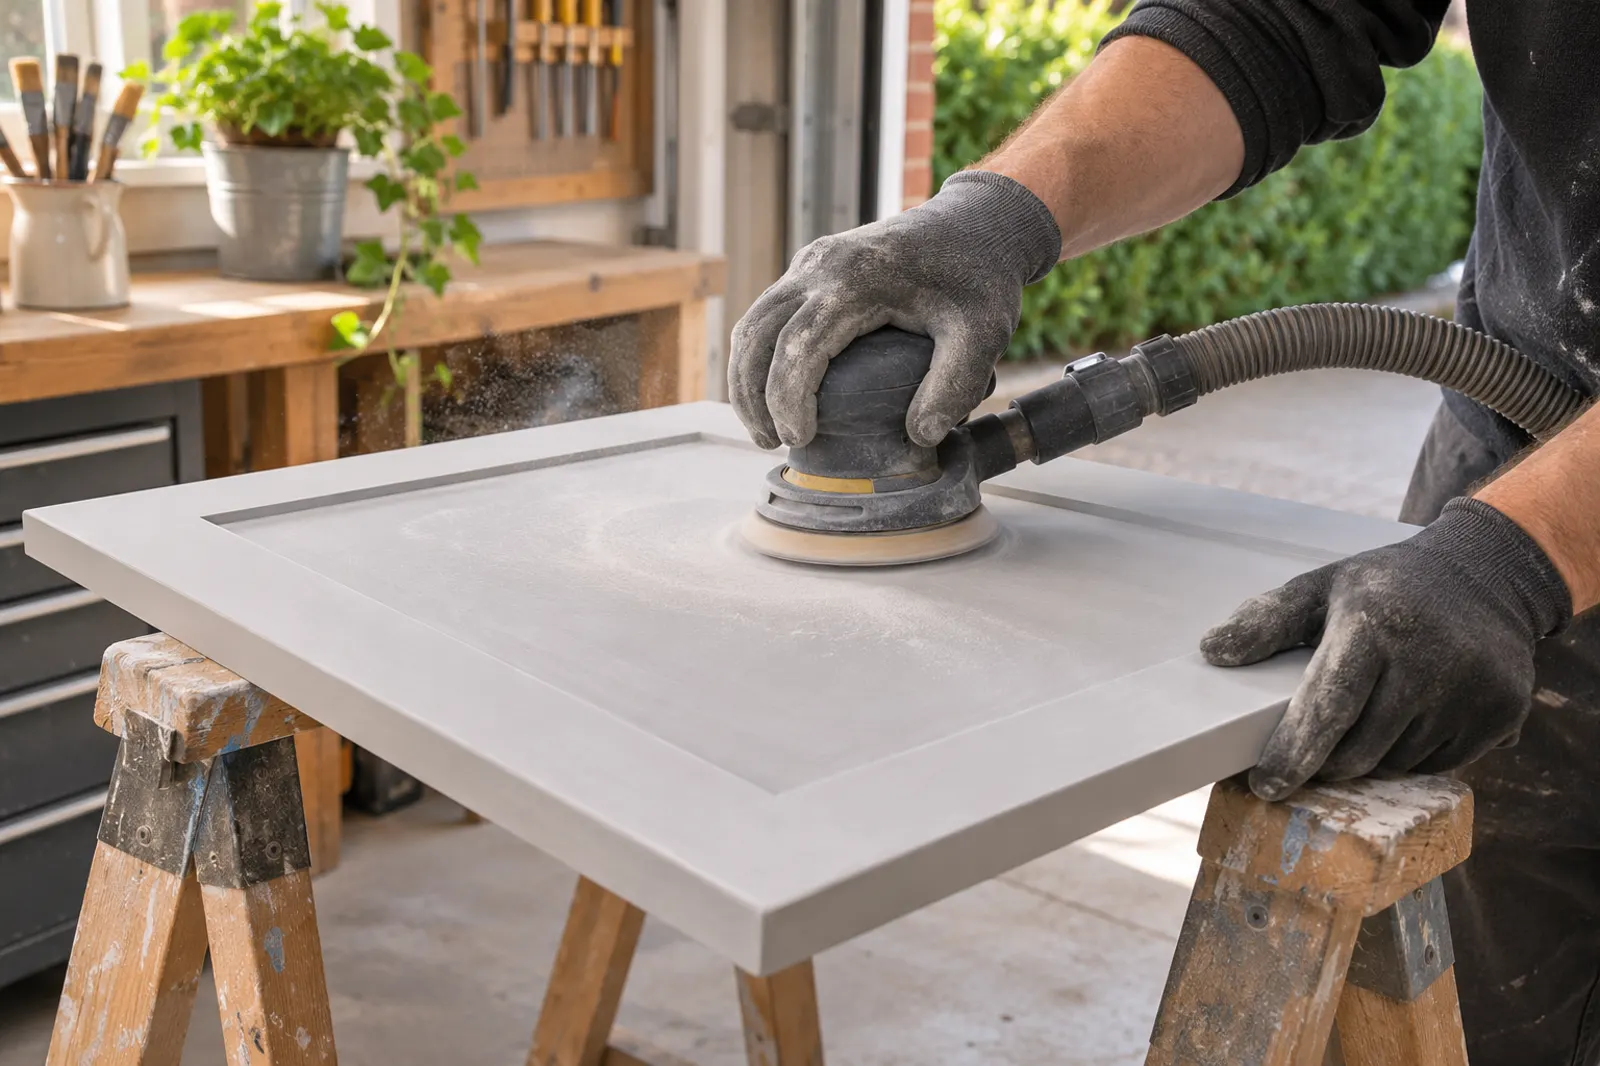
Dull, even and dust-free is the goal, not bare wood.
Step 5. Repair and fill
Fill chips and dents with two-part wood filler, leave it slightly proud and sand it flat once hard. Ready-mixed filler shrinks and shows through satin paint. Glue down any lifting corner of veneer and clamp it. If you are changing handle style, fill the old holes from both sides now and drill new ones after the paint has hardened.
Step 6. Key the surface
Sand everything with 180 grit, or 240 on vinyl wrap and laminate where you must not cut through. You want an even dull surface with no shiny patches. An orbital sander is quickest on flat panels; use a foam pad by hand on profiles and edges. Ease sharp edges very slightly, because paint pulls thin on a knife-sharp arris and chips there first.
Step 7. Remove all dust
Vacuum the doors with a soft brush attachment, then the room. Wipe with a slightly damp microfibre or a tack cloth. Dust left behind turns into small lumps called nibs, which show far more in satin than in matt.
Chapter 4
Prime
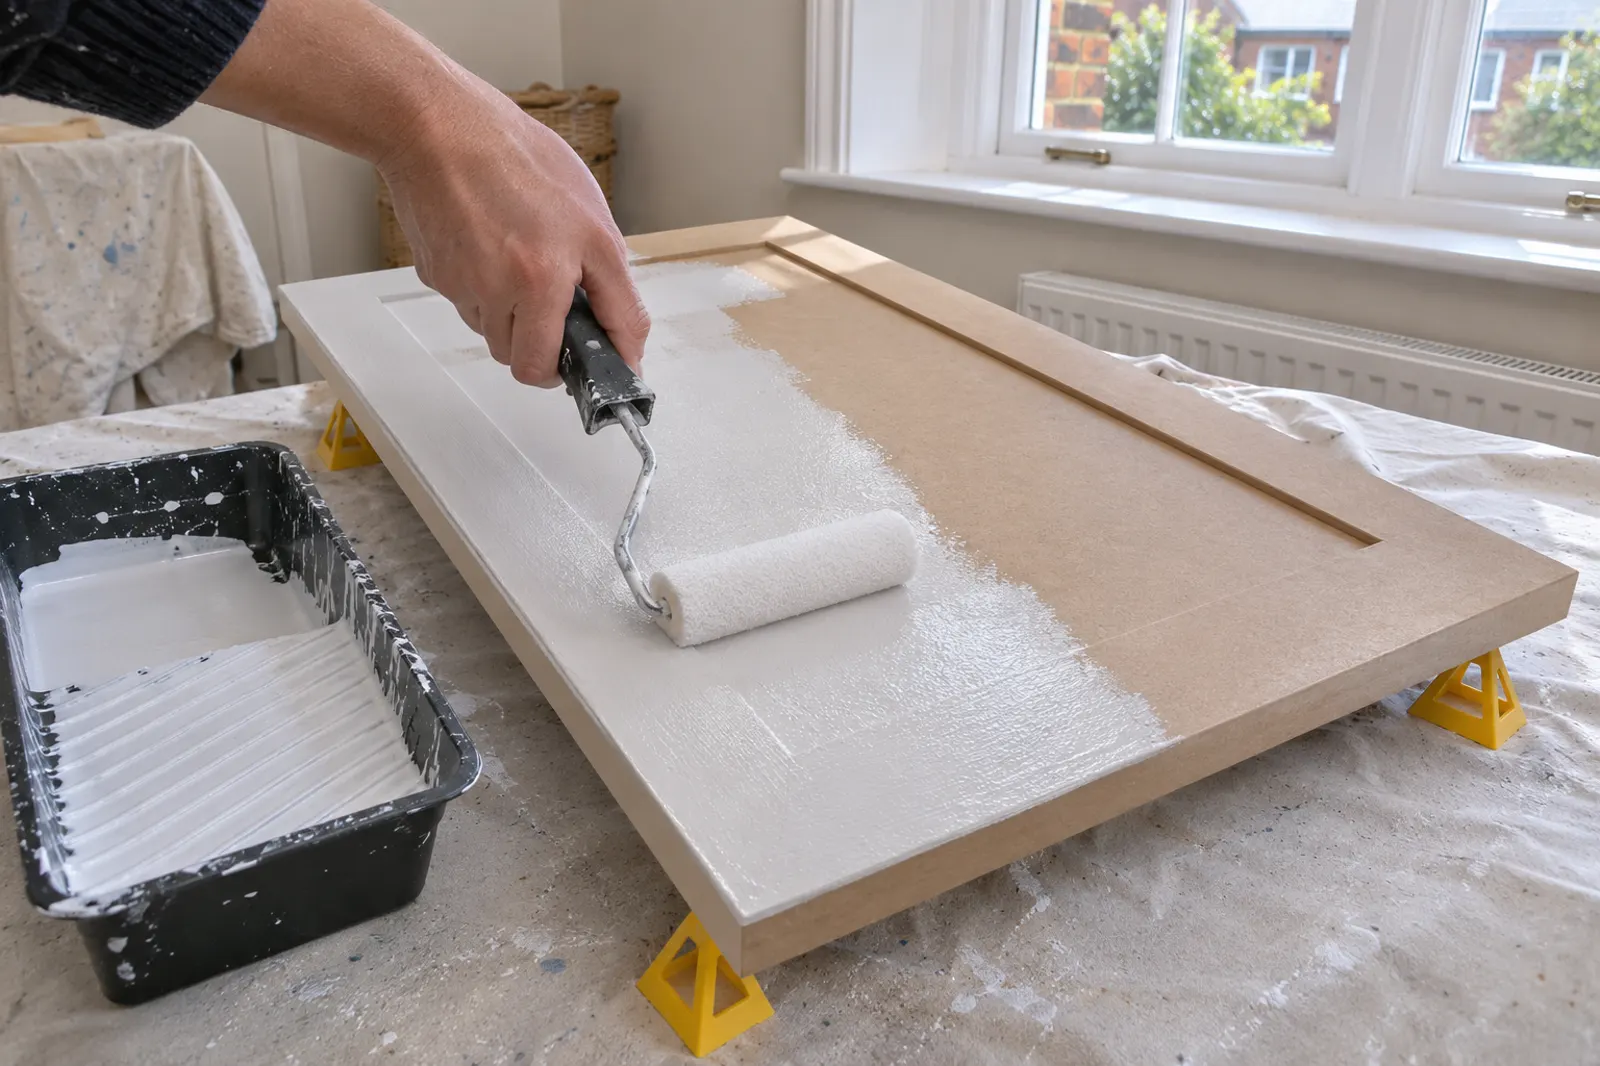
Backs first, then fronts, so the face you see dries flat.
Step 8. Prime
Apply one full coat of the primer that suits your surface. Do the backs, let them dry, then flip and do the fronts. Work edges first, then panels, then rails and stiles, finishing each part with light strokes along its length. A mini foam roller gives the smoothest result on slab doors; on shaker doors, brush the profiles and roll the flat parts. Shellac-based and solvent bonding primers dry fast, so work small areas and do not go back over them.
Step 9. Denib and caulk
When the primer is dry, sand lightly with 240 to 320 grit to knock off raised fibres and nibs. On shaker doors, run a very fine bead of decorator's caulk where the centre panel meets the frame and smooth it with a wet finger; it stops a dark hairline appearing along that joint. Spot-prime any filler you sanded through.
Chapter 5
Topcoats
Two thin coats beat one thick one, whether brushed or sprayed.
Step 10. Apply thin topcoats
A thick coat sags on edges, stays soft for longer and marks when it touches a hinge. Load the roller lightly, lay the paint on, then lay it off with almost no pressure. On shaker doors: edges, panel, the two upright stiles, then the cross rails, so the last stroke runs along each piece.
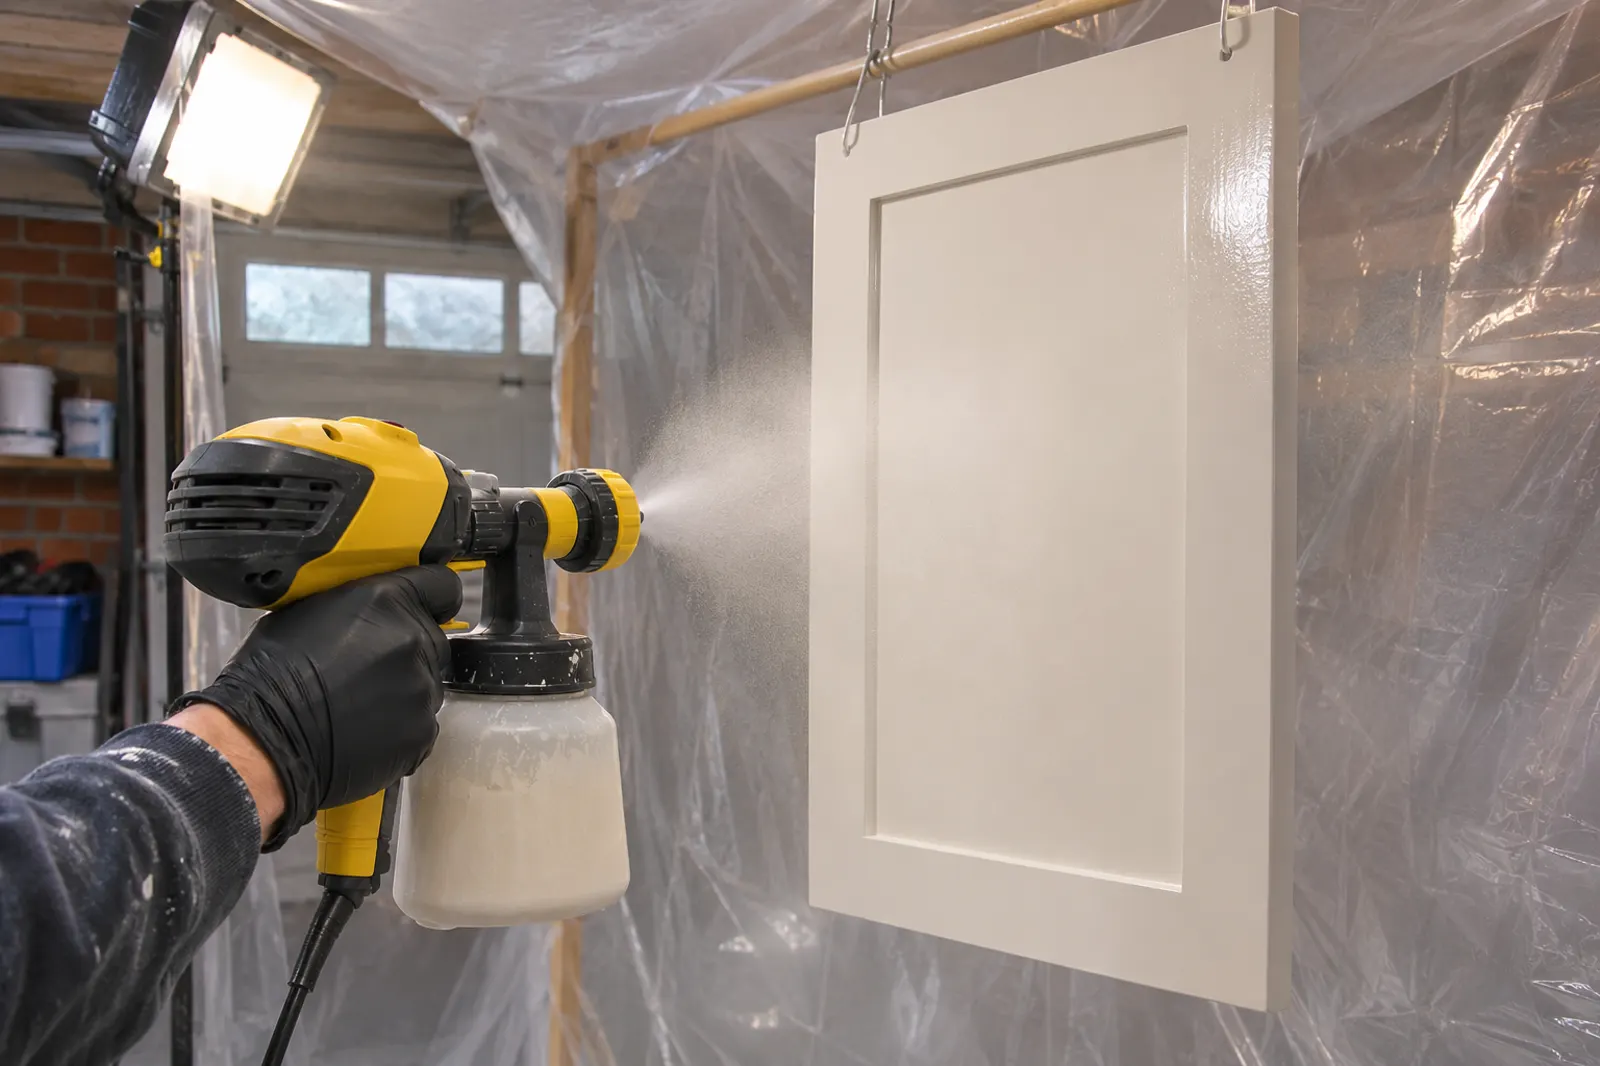
Wait for the full recoat time on the tin before the second coat: usually 4 to 6 hours at 20 °C for waterborne cupboard paint and 16 hours or more for oil-based satinwood. Sand lightly between coats only if you can feel nibs. The drying planner builds a timetable for your paint and room temperature. For an even smoother finish, the same stages work with a sprayer: see spray painting kitchen cabinets.
Step 11. Paint the carcasses
While the doors dry, paint the fixed parts in place. Empty the cupboards, mask the worktop, wall and floor with low-tack tape, then clean, sand and prime as above. Use a small brush along the worktop edge and a mini roller on end panels. Pull the tape while the last coat is still slightly soft so it does not tear the paint edge.
Chapter 6
Rehang and cure
Dry to touch is not hard. Give it two weeks before you scrub.
Step 12. Rehang and let it cure
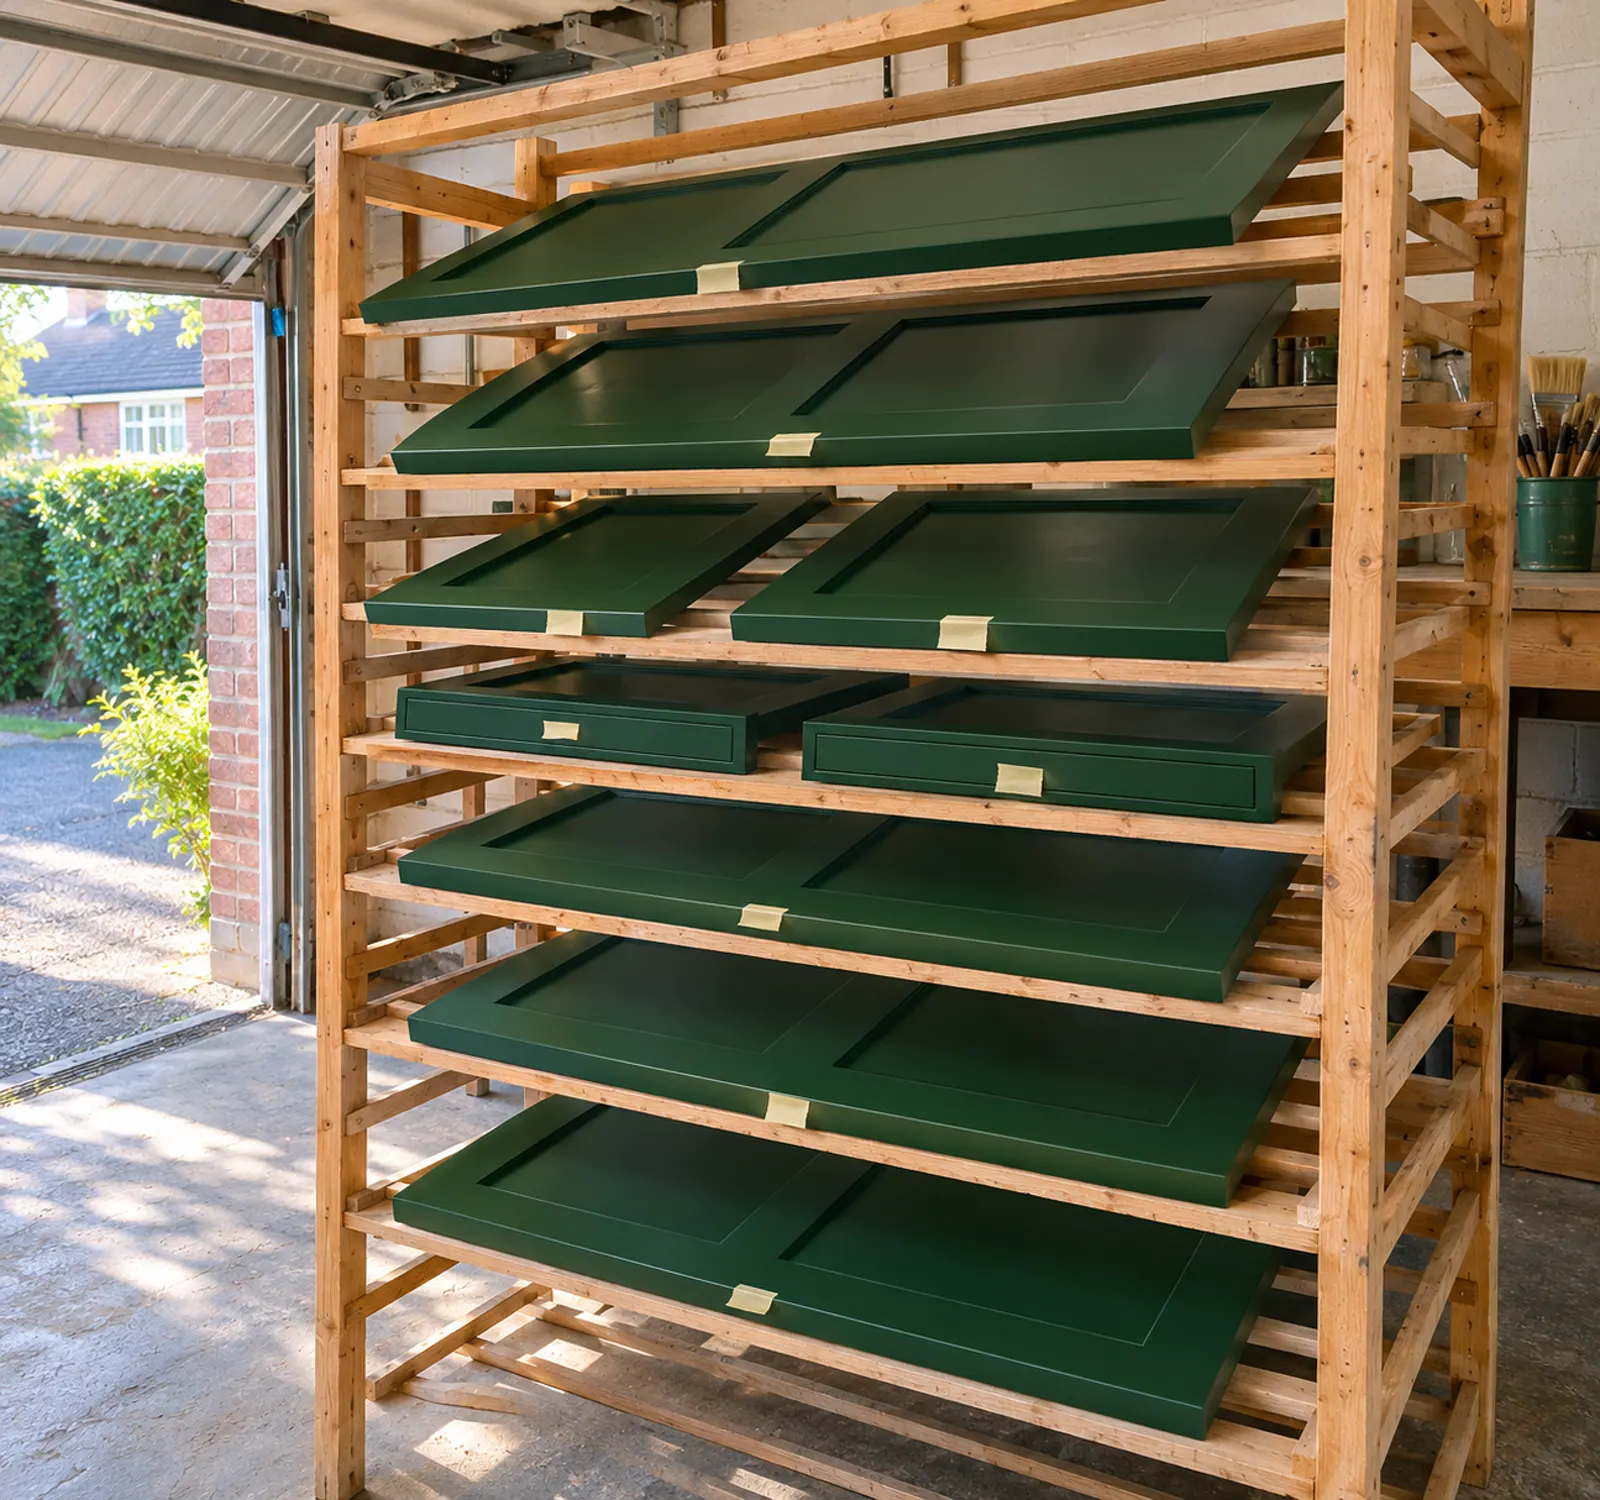
Wait at least 24 hours after the last coat before handling doors, longer in a cold room. Refit hinges, rehang, adjust the hinge screws until the gaps are even, and fit the handles. Stick small clear bumper pads inside each door corner so fresh paint does not stick to the frame.
Waterborne cupboard paints typically take about two weeks at room temperature to get close to full hardness; oil-based paints can take three to four weeks. Until then, avoid scrubbing, tape and leaning things against the doors.
A UK walkthrough worth ten minutes
Chapters set by the channel
Why this one: a UK kitchen, UK-available paint and a brush-and-roller finish, so it matches this guide closely. Watch how little paint goes on each pass.
Where we differ: the video moves quickly from cleaning to painting. On glossy or vinyl doors, add the sanding and bonding primer steps from chapters 3 and 4 above.
Video by Toni Interior. Open it on YouTube. Nothing loads from YouTube until you press play; the player then comes from youtube-nocookie.com.
A realistic five-day plan
Most of the time is waiting. This assumes waterborne primer and topcoat in a room at 18 to 20 °C, working evenings and one weekend.
| Day | Work | Hands-on time |
|---|---|---|
| Day 1 | Label, remove doors, degrease, fill | 4 to 5 hours |
| Day 2 | Sand filler, key everything, clean dust, prime backs | 4 to 6 hours |
| Day 3 | Prime fronts and carcasses, denib, caulk | 4 hours |
| Day 4 | First topcoat: backs, fronts, carcasses | 4 hours |
| Day 5 | Second topcoat everywhere | 4 hours |
| Day 6 or 7 | Rehang, fit handles and bumpers | 2 to 3 hours |
Common variations
First time painting? Start here
Do one small wall door, start to finish, before the rest. It shows you how long each stage really takes, whether your primer grips, and how your roller leaves the paint. If it chips under a fingernail after a week, you have learned that on one door rather than twenty.
Painting cupboards black or another dark colour
Dark colours hide grubby fingers but show dust, scratches and every ripple in the surface, especially in satin. Use a grey-tinted primer, not white, so chips do not flash white. Expect two to three topcoats, and look at the tin for a scrubbable or high-durability rating, because dark matt paints can polish up where hands touch them.
Chalk-style and one-coat kitchen paints
Chalk-style furniture paints sold for kitchens usually need sealing with a clear waterborne topcoat to cope with grease and wiping; check the brand's own instructions. One-coat and self-priming cupboard paints save a stage on sound surfaces but still need a clean, keyed door. On laminate and vinyl, a separate bonding primer remains the safer route.
What goes wrong, and the fix
| Fault | Usual cause | Fix |
|---|---|---|
| Peels off in sheets | Grease left on, or no bonding primer on laminate or vinyl | Strip that door, degrease, sand, bonding primer |
| Chips on edges by handles | Sharp edge, thin paint there, used before cured | Ease the edge, spot-prime, two thin coats, wait |
| Brown or yellow marks through white | Tannin from oak or knots | Shellac or stain-blocking spot primer, then recoat |
| Roller stipple or orange peel | Paint too thick or roller too fluffy | Denib, foam roller, lighter coat |
| Doors stick to the frame | Rehung before the paint was hard | Bumper pads and more waiting |
| Brush marks in satin | Overworking fast-drying paint | Lay off once only, or spray slab doors |
Questions
Do I need to sand kitchen cupboards before painting?
Yes, lightly. A scuff with 180 to 240 grit gives the primer something to hold. You are dulling the surface, not taking the old finish off. Gloss laminate and vinyl wrap still need it, even when a primer says it sticks without.
Can you paint kitchen cupboards without sanding?
Some bonding primers and one-coat cupboard paints are sold as no-sand. They can work on clean, matt, sound surfaces, but on greasy or glossy doors they are the most common cause of peeling. A ten-minute scuff per door is cheap insurance.
Can I paint kitchen cupboards without taking the doors off?
You can, but the finish is rarely as good. Paint runs on vertical doors, hinges get painted and doors stick to the frame. Taking a door off takes about two minutes.
How many coats of paint do kitchen cupboards need?
Usually one coat of primer and two topcoats. Big colour changes, such as white over dark oak or a light colour over black, may need a second primer coat or a third topcoat.
How long before I can use painted cupboards?
Most waterborne cupboard paints can be handled after about 24 hours, used gently after about three days and reach full hardness after about two weeks at 20 degrees. Cold or damp kitchens take longer.
Next: spray the doors instead, or see what a professional would charge in kitchen respraying costs.